English
 中文
中文 Pусский
  Español
Installation Method Of Imported Stainless Steel Ball Valve
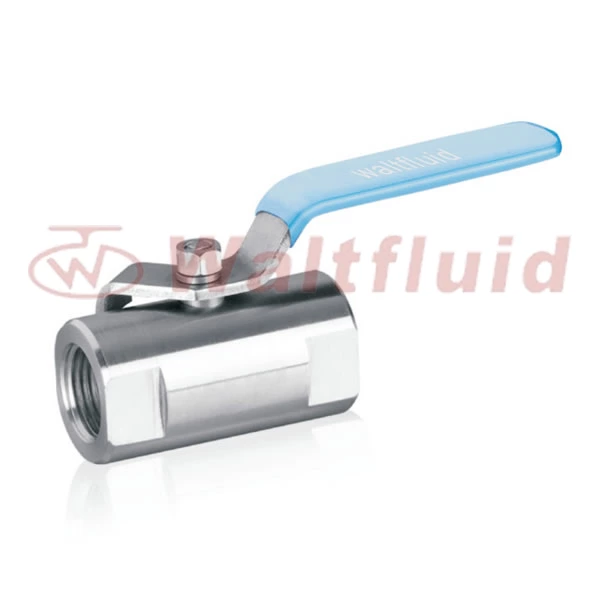
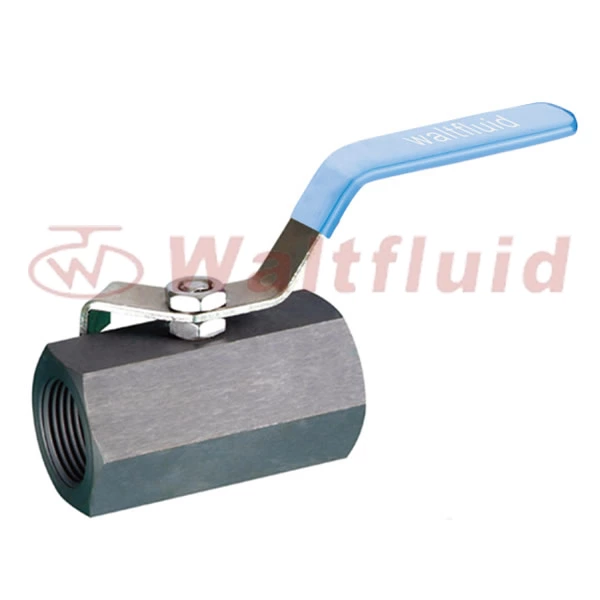
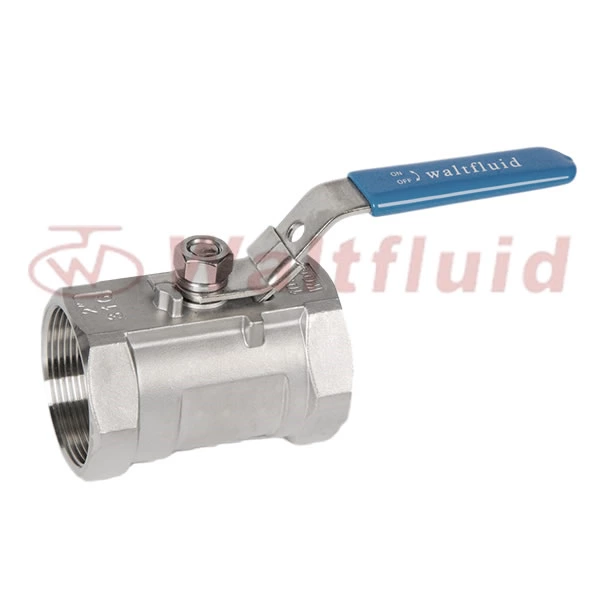
1 Piece Threaded Ball Valve Installation method
1. The pipelines before and after the ball valve are ready. The front and rear pipelines should be coaxial, and the two flange sealing surfaces should be parallel. The pipeline should be able to bear the weight of the ball valve, otherwise the pipeline must be equipped with appropriate supports.
2. Blow clean the pipelines before and after the valve to remove oil, welding slag and all other impurities in the pipeline.
3. Check the markings on the ball valve to make sure that the ball valve is intact. Fully open and close the valve several times to confirm that it is working properly.
4. Remove the protective parts on the connecting flanges at both ends of the ball valve.
5. Check the valve hole to remove any possible dirt, and then clean the valve hole. Even tiny particles of foreign matter between the valve seat and the ball may damage the valve seat sealing surface.
6. Install the valve on the pipeline. Either end of the valve can be installed at the upstream end. Valves driven by handles can be installed at any position on the pipeline. However, ball valves with gear boxes or pneumatic actuators should be installed upright, that is, installed on horizontal pipelines, and the drive device is above the pipeline.
7. Install a gasket between the valve flange and the pipeline flange according to the pipeline design requirements.
8. The bolts on the flange need to be tightened symmetrically, step by step, and evenly.
9. Connect the pneumatic pipeline (when using a pneumatic drive).
10. Operate the drive to open and close the ball valve several times. It should be flexible and smooth, confirming that it is working properly.
11. Check the sealing performance of the flange joint surface between the pipeline and the ball valve according to the pipeline design requirements.