How To Disassemble And Clean The American Standard Gate Valve?
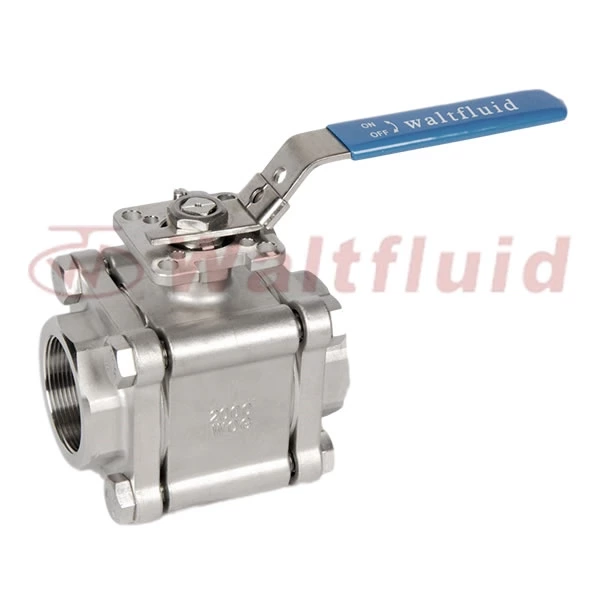
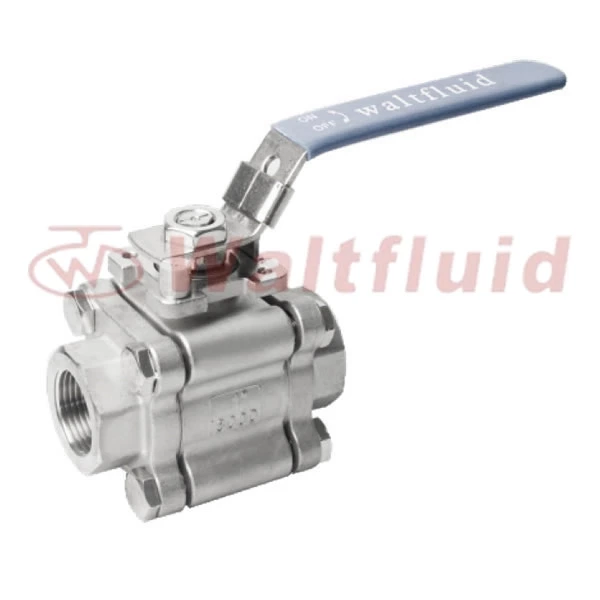
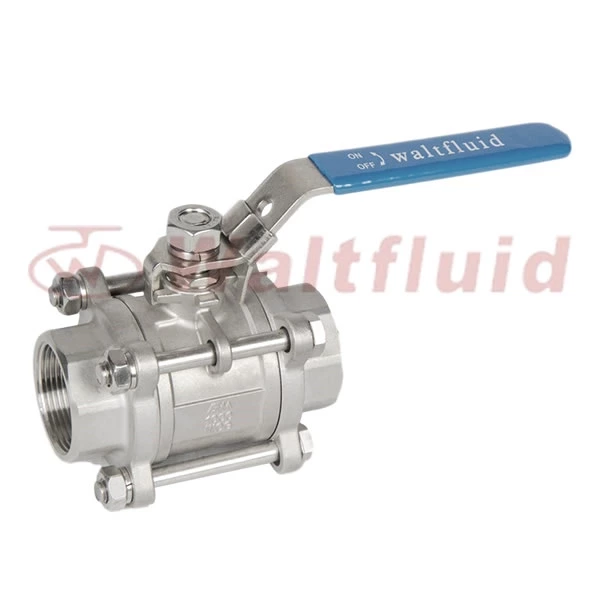
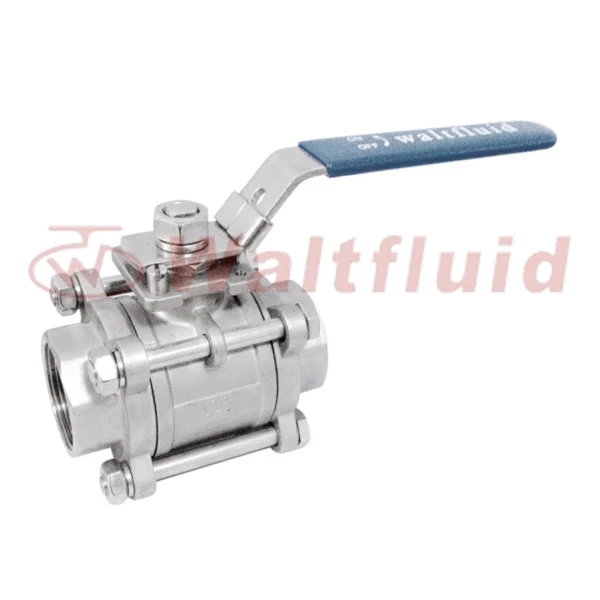
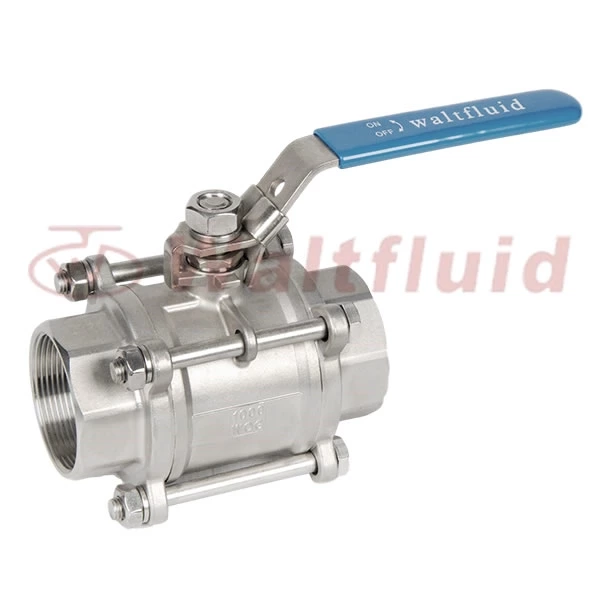
Disassembly, assembly and cleaning of 3 Piece Ball Valve
(1) Preparation
① Select wrenches, screwdrivers, pry bars, processing bars, top screws and other tools according to the required specifications of the valve.
② Prepare appropriate amounts of cotton yarn and detergent, and prepare valve end face gaskets, packing, lubricating oil, etc. according to valve specifications.
(2) Operation steps
① Operate the valve to the fully open position
② Cut off the control valves before and after the gate valve to be disassembled, and vent the remaining medium in the pipe.
③ Use a wrench to remove the flange bolts connecting the gate valve and the pipeline, tie the appropriate part of the gate valve with a sling, and lift the gate valve with appropriate equipment.
④ Disassemble the middle flange, check and clean the valve cavity, gate plate, valve stem head, and middle flange gasket.
⑤ The damaged middle flange gasket needs to be replaced. Apply a layer of butter on both sides of the gasket before installation.
⑥ After cleaning, insert the valve stem into the gate, align the gate guide groove with the valve body guide rib, install the valve body, turn the hand wheel to make the two flanges close together, install the bolts, and tighten the nuts diagonally.
⑦ After debugging, perform pressure test according to the corresponding test procedures of the valve.
⑧ Pack up tools and clean the site.
(3) Technical requirements
① When disassembling and assembling, it is strictly forbidden to collide with the gate and valve seat sealing surface, and pay attention to the direction of the gate installation surface. You can mark it before disassembling.
② All parts should be thoroughly cleaned.
③ Each part should be installed as originally as possible and adjusted to a reasonable position.
 English
 中文
中文 Pусский
  Español
